DIY: Flexible ice pack
Do it yourself flexible ice pack.
May 9, 2016
Students at GCAA are constantly working on their craft. In class, students are working to learn dances, as well as playing sports in physical education. When a student is hurt, time is wasted running back and forth to the nurse for ice packs, taking time away from learning in class. However, a quick solution is a home made flexible ice pack. This way students aren’t wasting class time going to the nurse in need of ice packs for injuries.
Items you will need for your flexible ice pack:
Bowl
Rubbing Alcohol
Measuring cup (1 or 2 cup and ⅓ cup)
Water
Ziploc bag
Instructions: Elijah Bivins
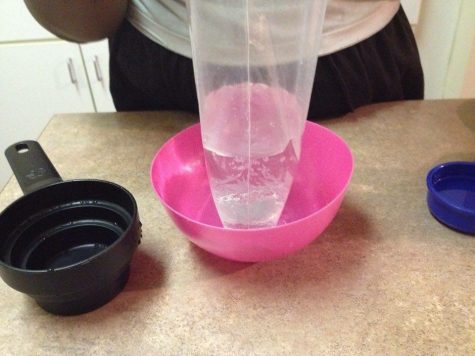
- Using your measuring cups, fill a reusable Ziploc bag with two cups of water, and and ⅓ cup of rubbing alcohol.
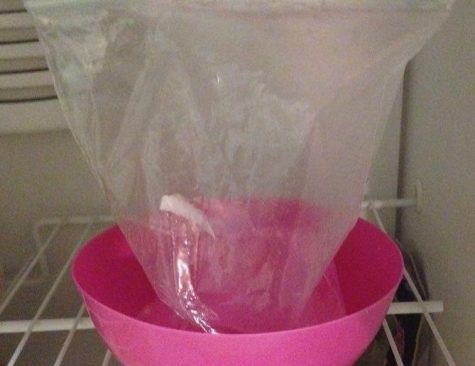
2. Zip the bag shut and place the bag in a bowl in case the bag is to leak
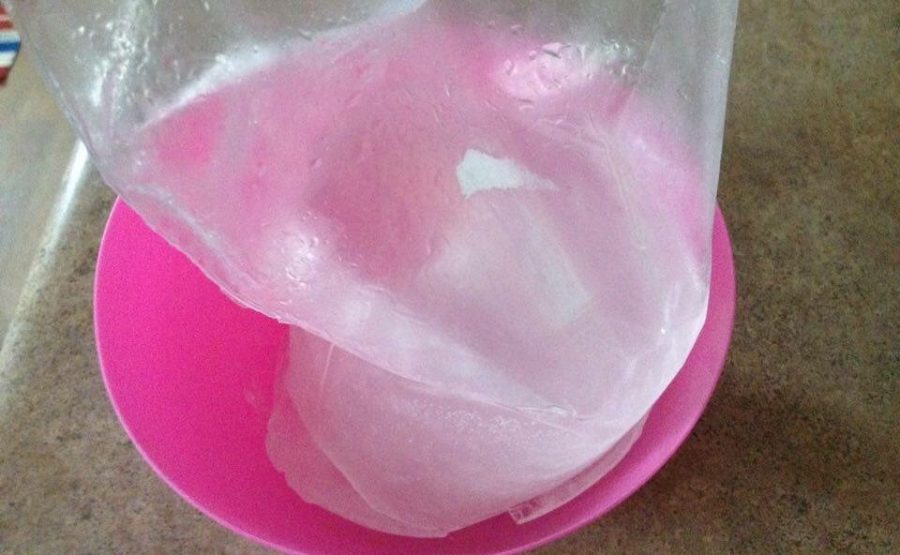
3. Put the bowl in the freezer overnight. The rubbing alcohol and water will form a slushy ice that will allow you to apply the ice pack to the affected area.


